The Digital Situation Report can be updated at any time and piece by piece. Therefore, you do not have to wait for an entire document (i.e. Bulletin or Situation Report) to be complete before posting. Please adhere to your office’s clearance and approval workflow before publishing content.
| Note |
|---|
When updating your Digital Situation report, do not duplicate the report and do not create a new situation report entry. Instead, update content from your current report. |
| Table of Contents | ||
|---|---|---|
|
...
Open your Digital Situation Report.
Scroll to the section you want to update.
Click “+ Add content” or “+ Add Media”. (The option was formerly phrased as “+ Create new [name of the asset] and link”)

Click on the content type under “New Content”.
Complete the pop-up window accordingly. See Form Fields for more information.
Click “Publish” in the pop-up window.
Click “Close” or the upper-left arrow to return to the main editing screen.
Make any additional changes, if necessary.
Modify “Date Updated”, if necessary.
Click “Publish” in the right-hand column to publish all changes. (Note: please include a note to ReliefWeb indicating your changes).
Edit an Existing Entry
Use this option when updating content in an existing entry.
| Note |
|---|
The status of the content item will go from Published to Changed. You must click Publish changes on the content card for the public to see it. Visitors will continue to see old content until the status is changed. |
Open your Digital Situation Report.
Scroll to the section you want to update.
Click on the entry or click on the three dots, then Edit

Make necessary changes to the content.
Click Publish changes on the right sidebar of the content card.

Return to your Situation Report.
When all items are ready, click Publish changes in the right sidebar of the Situation Report.
...
Link an Existing Entry
| Note |
|---|
It is advised to not make changes to a linked entry if you are not the original creator. Changes to an entry may be reflected in other SitReps the entry is featured. |
...
Open your Digital Situation Report.
Scroll to the section you want to update.
Click on the three dots of the entry you want to remove.
Select “Remove”.
Make any additional changes, if necessary.
Modify “Date Updated”, if necessary.
Click “Publish” in the right-hand column to publish all changes. (Note: please include a note to ReliefWeb indicating your changes).

...
Open your Digital Situation Report.
Scroll to the section you want to update.
Click on the three dots and click “Edit”.
For Highlights and Key Figures, click the down arrow next to “Published” on the entry you want to update. For other entries, click the arrow next to “Change status”.
Select “Unpublish” from the drop-down menu.


Make any additional changes, if necessary.
Modify “Date Updated”, if necessary.
Click “Publish” in the right-hand column to publish all changes. (Note: please include a note to ReliefWeb indicating your changes).
...
Open your Digital Situation Report.
Scroll to the section you want to update and perform the steps outlined in Add a New Entry or Link an Existing Entry.
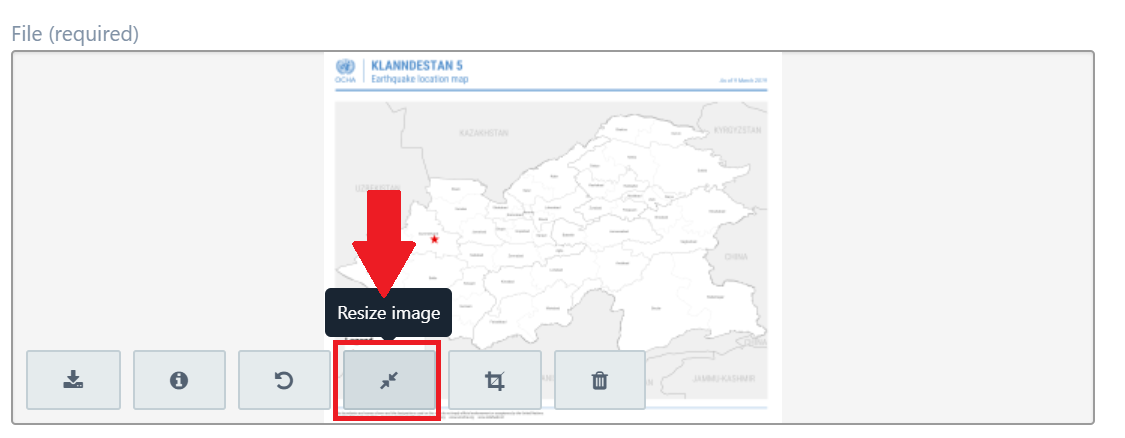
Upload your image in the “File” field of the image editing screen.
Click the “Resize Image” icon from the list of options (Note: the icons will appear when you move your mouse over the image).
Choose “Select width”, “Select height”, or “Scale” from the pop-up list.

Enter the pixel size in the pop-up edit window.
Click “Resize image” to save the new dimensions.